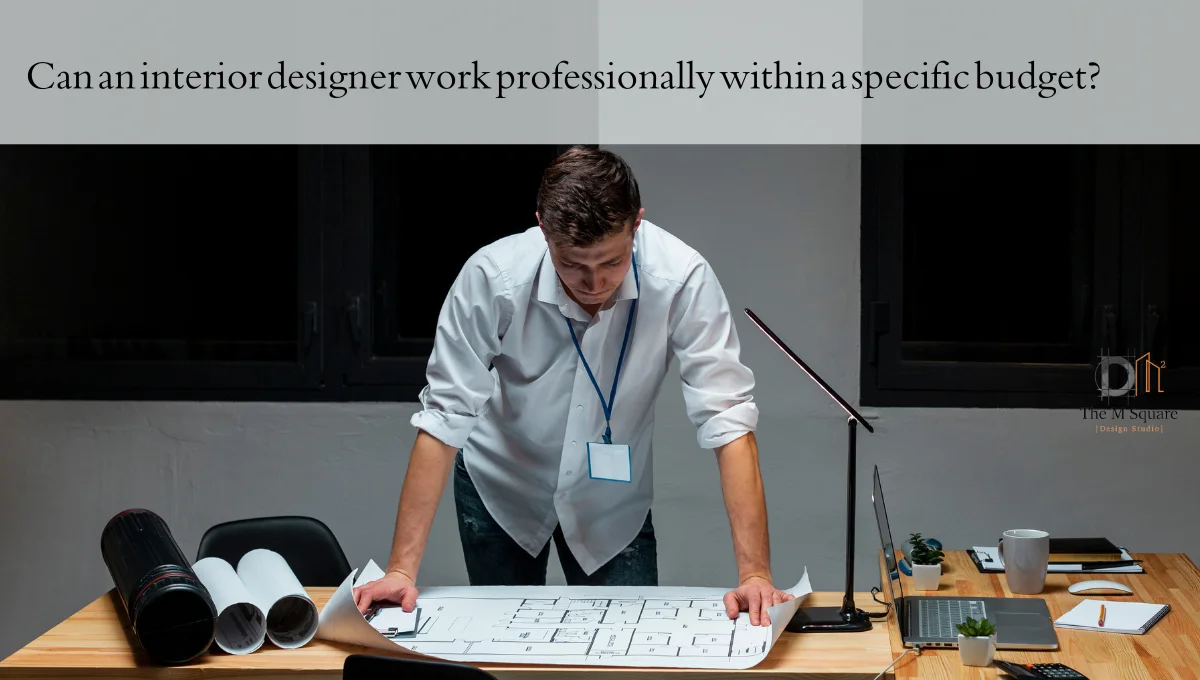
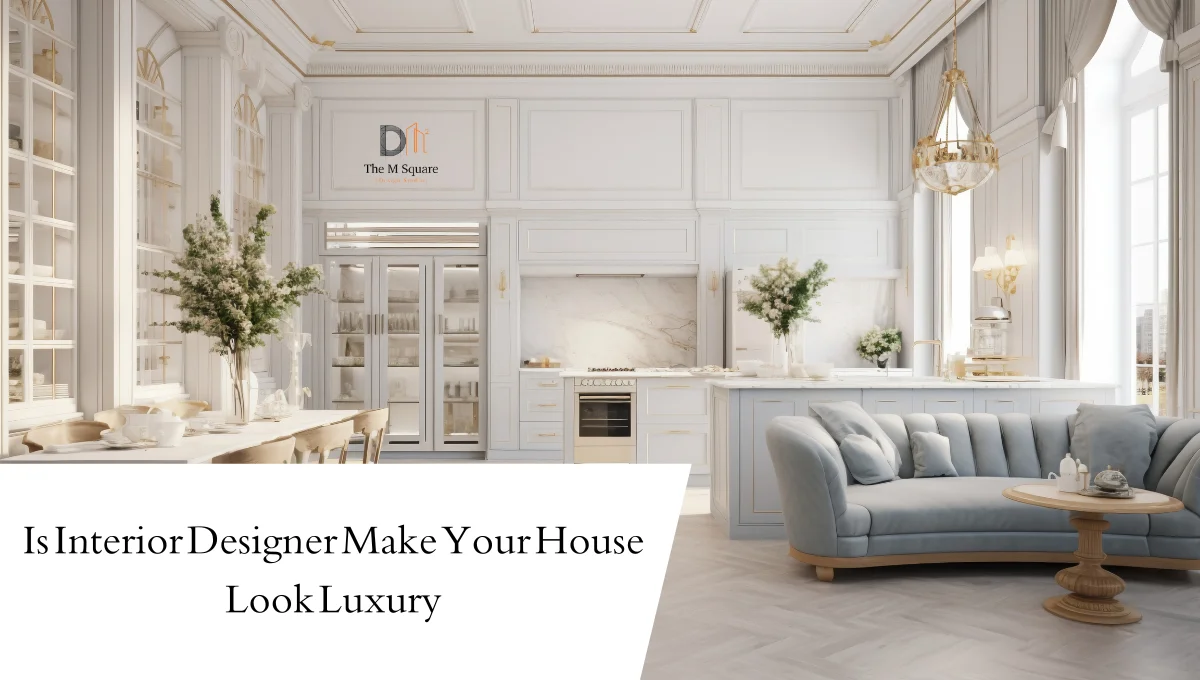
When you think about interior design, what comes to mind? Luxurious spaces filled with high-end furnishings? While it’s true that some facets of interior design may seem out of reach for the average person’s budget, the reality is that interior designers can—and do—work professionally within specific financial constraints.Can an interior designer work professionally within a specific budget?Yes, an interior designer can work professionally within a specific budget, and they can do so without sacrificing quality or style. By setting realistic financial parameters and collaborating closely with a knowledgeable designer, you can achieve the look and functionality you desire while staying within your means. In this blog post, we’ll explore how an interior designer can respect your budget while still creating an aesthetically pleasing and functional space. Understanding the Role of an Interior Designer Before diving into how interior designers work with budgets, let’s clarify what they do. An interior designer is a trained professional who focuses on enhancing the interiors of any space. This includes not only selecting colors and furnishings but also planning the layout, ensuring that the design is functional and meets the client’s needs.Interior design can add immense value to any project, considering factors like style, aesthetics, and the practical use of space. Their expertise allows them to transform a basic room into a stunning environment, regardless of budget constraints. Setting Friendly Budget The first step in any design project is establishing a budget. A clear financial plan helps guide the entire design journey. When setting your budget, consider the following: Define Your Needs and Wants: Identify what aspects of your space are essential (functionality, storage) and what elements are more of a wish list (luxury finishes, art pieces). Research and Realistic Expectations: Investigate average costs for materials and services relevant to your project, allowing you to set realistic expectations. Factor in Hidden Costs: Don’t forget to account for installation, furnishings, and potential unexpected expenses that may arise during the project. The Budget-Conscious Design Process Once the budget is set, an interior designer will follow a strategic approach tailored to your financial limits. Here’s a typical process they might use: Consultations and Needs Assessment: The designer will conduct an initial meeting with you to discuss your needs, lifestyle, and preferences. This includes setting the scope of work and discussing your budget candidly. Mood Board Creation: The designer will develop a mood board—a visual representation of your desired style. This might consist of color palettes, fabric swatches, and potential furnishings. Selecting Materials and Furnishings: With budget constraints in mind, the designer will source materials and furniture that fit both your aesthetic and financial plan. They often have access to trade discounts and budget-friendly options that might be unknown to the average consumer. Cost-Saving Techniques: Many designers will suggest cost-saving strategies, such as: Repurposing or upcycling existing furniture. Implementing DIY solutions for certain aspects of the project. Choosing off-the-shelf materials instead of custom solutions when appropriate. Success Stories: Budget-Friendly Design Projects To illustrate that great design can be achievable within a budget, consider the story of a family who wanted to revamp their living room but was limited to a Pkr 1392840/- budget. Through thoughtful consultation, the interior designer reconfigured the room’s layout, sourced affordable yet stylish furniture, and added fresh paint and decor items. The result was a stunning transformation that surprised not only the family but also their guests. Another success story involved a small office space that needed a makeover for Pkr 696420/-. The designer utilized multifunctional furniture and a clever color scheme to create an inviting and efficient workspace that combined functionality with aesthetics. Tips for Collaboration with an Interior Designer on a Budget To get the most out of your experience with an interior designer, here are some tips for collaborating effectively: Communicate Budget Limits Clearly: Always be upfront about your budget from the outset to avoid misunderstandings later in the process. Prioritize Spending: Work with your designer to determine where to allocate your funds. This will ensure you are investing in areas that will have the most significant impact. Be Open to Flexibility: While it’s essential to have a clear budget, maintaining some flexibility can allow the designer to propose options you might not have considered. Common Misconceptions About Budget-Friendly Design One of the biggest myths about budget design is that it compromises quality. In reality, an experienced interior designer can create beautiful, high-quality spaces without overspending. They know where to source quality materials at reasonable prices and often have trusted relationships with vendors who offer better deals. How Designers Transform Spaces on a Budget? Interior designers excel at creative problem-solving. They can find innovative solutions that meet your needs while keeping costs low. For instance, a designer might suggest using wallpaper to create an accent wall instead of an expensive renovation, or implementing floating shelves for storage that won’t break the bank. Every small change can significantly impact the overall look and feel of a space. The Power of DIY: Collaborating with Your Designer While designers provide professional support, incorporating a DIY element can be a clever way to save costs. Designers can recommend DIY projects that align with your skill level and comfort, like painting or simple décor crafts. This not only keeps the project within budget but also provides a personal touch that reflects your taste and personality. The Long-Term Value of Investing in Design Understanding the long-term benefits of working with a designer within your budget can shift your perspective. A well-designed space can increase your home’s overall value, improve functionality, and enhance your quality of life. Instead of seeing it as a mere expense, think of your budget as an investment in your home and lifestyle that will pay dividends over time. FAQs Q: How can I find an interior designer who works with budgets? A: Look for designers who emphasize budget-friendly projects in their portfolio or advertise their services as customizable to financial constraints. Personal referrals and online reviews can also lead you to designers known for
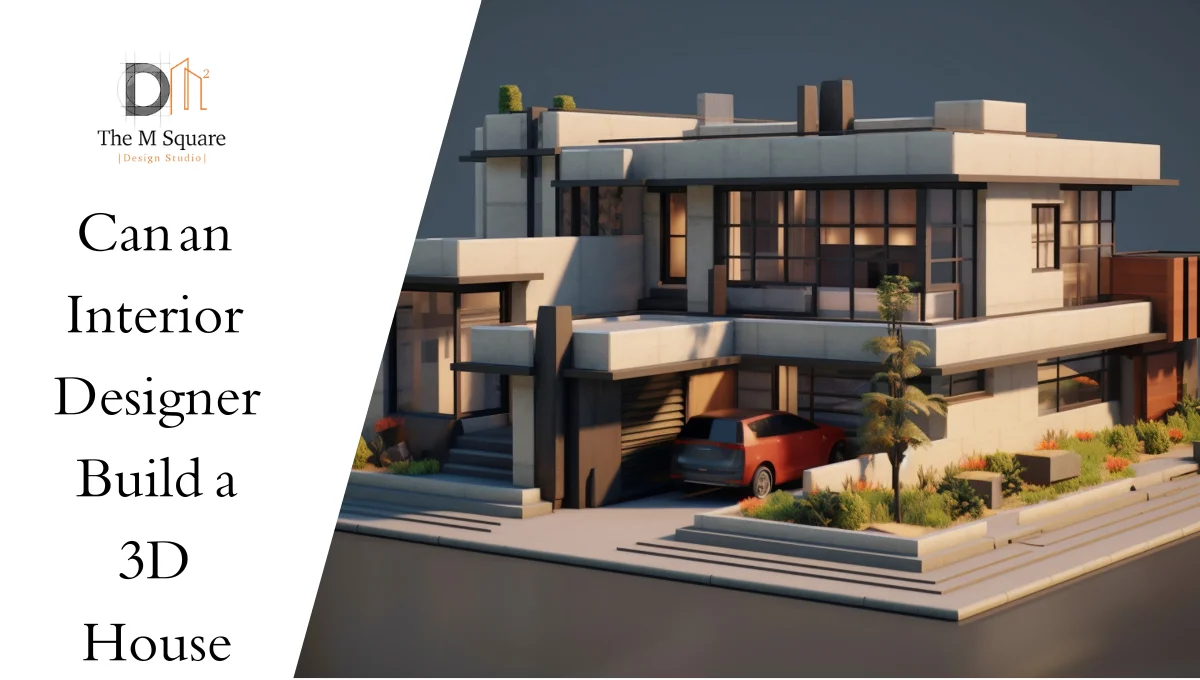
As technology advances, the field of interior design is evolving rapidly. One of the most exciting developments is the ability to create 3D house designs, including 5 marla house design 3d and 3 marla house design 3d. But can an interior designer build a 3D house? In this blog post, we’ll explore the answer to this question and delve into the world of 3D house design. Understanding 3D House DesignF A 3D house design is a digital representation of a physical space, created using specialised software such as Autodesk or SketchUp. This technology allows designers to visualise and interact with the design in a highly realistic way, making it easier to communicate ideas and make changes before construction begins. Role of an Interior Designer in 3D House Design So, can an interior designer build a 3D house? Absolutely! Interior designers are trained to think spatially and visually, making them a natural fit for 3D design. With the right software and training, an interior designer can create stunning 3D house design that meet their clients’ needs. Benefits of 3D House Design There are many benefits to using 3D house design, including: – Improved visualisation and communication – Increased accuracy and reduced errors – Enhanced collaboration and client engagement – Time and cost savings Examples of 3D House Designs Let’s take a look at some examples of *3D house designs* for 3 marla and 5 marla houses. These designs showcase the possibilities of 3D design and the expertise of a professional interior designer. 3 Marla House Design 3D This design features a compact, modern living space with an open-plan living area and kitchen. The *3D design* allows us to see how the space will flow and function. 5 Marla House Design 3D This design boasts a spacious, luxurious living area with high ceilings and large windows. The 3D design helps us visualise the scale and proportions of the space. Benefits of Hiring an Interior Designer for 3D House Design So why hire an interior designer for your 3D house design? Here are just a few benefits: – Expertise: Interior designers have the training and experience to create stunning 3D designs. – Customization: A professional designer will work with you to create a customised design that meets your needs. – Cost-effective: Hiring a designer can save you time and money in the long run. Finding the Best Interior Designer in Lahore If you’re looking for the best interior designer in Lahore, here are some tips: – Check their portfolio: Look for examples of 3D house designs and other projects. – Read client reviews: See what past clients have to say about their experience. – Meet with them: Discuss your project and see if you click. Visit Us Today! In conclusion, an interior designer can indeed build a 3D house. With the right skills and software, they can create stunning, functional designs that meet their clients’ needs. If you’re looking for a professional interior designer in Lahore to bring your 3D house design to life, look no further than TheMSquare! Contact us for freindly advice Blank Form (#4) Δ First NameLast NameEmailSubjectYour MessageSubmit Form
Introduction: We mostly hear from our elders that the best homes have everything in an apple pie order. Interior design seems simple, but it demands nerve-breaking efforts, colour selection, and converting your ideas into a reality. We shape our homes, and our homes shape our personalities. It is all about a professional service that reflects your personality and practical requirements. You start from scratch, and it requires precautionary measures, consideration of the client’s needs, and proper execution of your ideas. Furthermore, the very first step of house interior design tells about your vision, lifestyle, aspirations, and actual needs. Once the vision is clear, it sets fundamental grounds for all interior design decisions. There is a need to make adequate space planning. Natural colour combinations set the tone and style of your ideal home. Always understand the worth of environmental factors during the process of interior design. Our guide will explore every corner of interior design ideas that will surely save you time and energy. After reading our guidelines, you can make a very satisfactory decision about the Interior design of your home. Mastering Interior Design: Our interior design professionals believe home design is more than just arranging furniture. It is about creating a peaceful place where you feel like heaven. We will uncover all the secrets of home design. The following points will help you to develop a dream interior design: 1- Prioritising your style The most crucial step for interior design is to select your style. Are you inclined toward modern designs, a true nature lover, or passionate about historical work? Your style will speak about your design choices. As a result, we develop an enchanting look in your home. 2- Attractive layout design Effective space planning is essential so that you can enjoy your comfort zone. You must consider the flow of traffic, crossed air passage, and proper lighting for each room. Furniture placement at the right places develops your dream living experience. 3- Colour selection matters Colour combinations predict your taste, sense of humour, and personal ambition for your home interior design. Colours have direct access to your emotions, and they influence your mood. Select a colourful pattern that combines with the atmosphere ideally for each room. Do experiment with different shades. Always prefer perfection in your colour combinations, as colour selection always matters. 4- Furniture selection and placement Furniture selection and placement give extra room to your interior design. Invest in quality furniture that promises comfort and classical style. There is a need to consider the size of each piece so that they become harmonious in space. 5- Natural light and ventilation Natural light and ventilation are fundamental to every home interior design project. Designers understand the worth of ventilation in each room. Experts enhance natural light through window placements in every room. Additionally, floor plans and skylights reduce the burden of extra lights and make every segment of your interior design. Both of these factors ensure a proper air passage and a healthy lifestyle. Energy efficient features improve interior design: Costs of energy have been skyrocketing day by day. Energy-effective solutions improve your interior design. They reduce the harmful impacts on the environment. Energy-efficient devices should be installed very carefully to ensure an eco-friendly home. Sustainable and effective home interior designs are long-lasting, reliable, and secure. Furthermore, eco-friendly substances such as recycled wood promise sustainable living experiences. Interior design trends There are numerous trends in house interior design. Clients and their interests are the major factors influencing the industry’s upcoming interior design trends. The market industry is very flexible in the case of interior design trends. Cultural heritage, religious influence, and personal association have drastically altered the measuring standards of interior design trends. Some people prefer to recover ancient households, while others are interested in buying new, modern, and updated household items. Well, it does not matter whether you own new items, yet Interior design trends directly influence your dream home. Ideal practices to deter your pests It is crystal clear that no one will like the entry of unwanted pests into one’s home without any reason. The ideal way is to keep your home clean. Some environmentally friendly ideas deter pests and they discourage them from entering your living place. To deter Ants: You can practise multiple ways to deter Ants. There are some kinds of spray shelves in your home design. You construct them in order to get rid of ants. Secondly, you can put spearmint near the positions of ants. To deter cockroaches: The ultimate way is to sprinkle a protective layer inside the foundation of your walls during construction. Secondly, putting the ends of the cucumber near their positions also promises worthy results. Feature walls increase the beauty of your interior design: Feature walls have become very popular in today’s era. They highlight the main points. There are allocated areas for the public and staff. You experience drama and movement in those areas. You have other options for using wallpapers according to your taste and style. How do you get the ideal home interior designer in Pakistan? Numerous construction companies exist in Pakistan. Theme Square is not only a construction company but also provides interior design, renovation, architecture, and landscape designs. They provide the best interior designer services in Lahore. Stop dreaming! Call us for excellent interior design services in Pakistan. Location: Tipu Motors, ist Floor, Chungi No.8, L.M.Q Road Multan Call For Free Consultation : +923129887777 Email: DMsquare@hotmail.com Conclusion: It is concluded that interior design increases space that directly impacts your living styles. There are multiple factors that have close linkage with home interior design including: proper ventilation, colour psychology, space planning, and furniture selection. You transfer your home into heaven by constructing a bridge between your needs and vision. Maintaining a balance between your design and practical adoptions is very important. Ultimately, ideal home interior design aims to construct a home that brings joy, satisfaction, and inner peace. We provide the best and perfect interior home design service
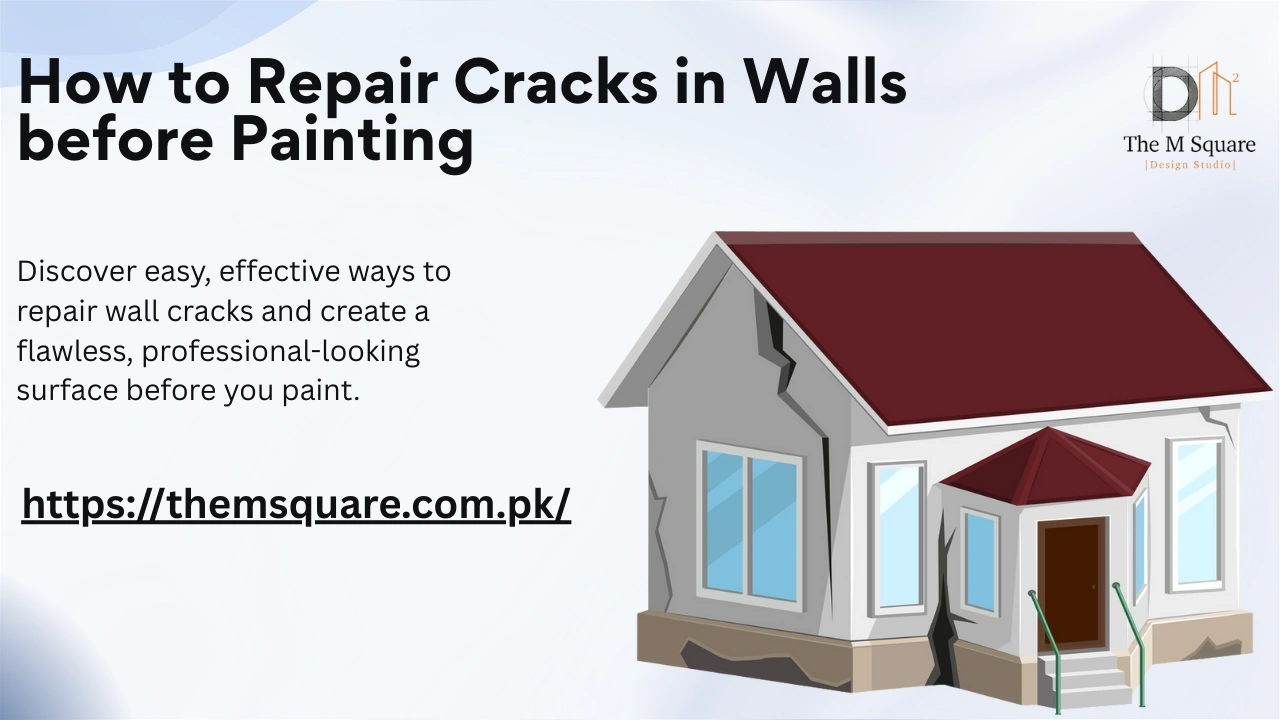
Before you start painting your walls, have you ever noticed those annoying cracks that seem to pop up everywhere? Whether they’re small hairline fractures or bigger gaps, cracks can really throw off the look of a freshly painted wall. But don’t worry, repairing them is easier than it sounds! In this guide, we’ll show you how to fix those cracks step-by-step so you can get a smooth, flawless finish. Whether you’re doing it yourself or working with an interior designer, this simple process will help you create a beautiful, polished space. Let’s dive in and get those walls ready for their new look! Why Repair Cracks Before Painting? Before diving into the steps, it’s important to understand why repairing cracks is essential for a successful painting project. Cracks in the wall not only disrupt the appearance but can also allow paint to be absorbed unevenly, resulting in blotchy and inconsistent coverage. Furthermore, unaddressed cracks can expand over time, which might lead to structural issues if left untreated. Repairing cracks provides several benefits: Smoother finish: You’ll have a smooth, even surface for paint application, making your walls look polished and professional. Prevent further damage: Fixing cracks early prevents them from worsening and causing deeper damage. Better paint adhesion: Filler and primer help the paint adhere more effectively, resulting in a more durable finish. Enhanced appearance: A crack-free surface will make your walls look neat and fresh, contributing to the overall aesthetic of your room. Step-by-Step Guide to Repairing Cracks in Walls 1. Identify the Cracks The first step in repairing cracks is identifying where they are located. Check all the walls for visible cracks, holes, or dents. Cracks can range from small, hairline fractures to larger, deeper ones that require more extensive repair. Once you’ve located all the imperfections, assess their size and depth. The larger the crack, the more preparation it may need. 2. Gather the Right Tools and Materials To repair cracks effectively, you’ll need a few essential tools and materials. Here’s a list of what you’ll need: Putty knife or drywall knife Joint compound or wall filler Fiberglass mesh tape (for larger cracks) Sandpaper (medium and fine grit) Primer (to seal the patched areas) Painter’s tape (optional) Clean cloth or sponge Drop cloths or plastic sheeting to protect the surrounding area These materials will help you properly fill and smooth the cracks, ensuring a professional look once the paint is applied. 3. Clean the Wall Before repairing the cracks, clean the area around the crack to remove dust, dirt, or grime. Use a damp cloth to wipe down the wall, ensuring that the surface is free from any debris. Cleaning is crucial because dirt or moisture can prevent the filler from adhering properly to the wall, leading to poor results. 4. Prepare the Crack for Repair Depending on the size of the crack, the repair process will differ slightly. For small, hairline cracks: Use a utility knife or a razor blade to gently widen the crack into a V-shape. This allows the filler to bond better to the wall and prevents the crack from reappearing in the future. For larger, deeper cracks: Apply a piece of fiberglass mesh tape over the crack. This tape adds support and reinforces the repair. After applying the tape, cover it with joint compound, ensuring it is embedded properly. 5. Apply the Filler Using a putty knife or drywall knife, apply joint compound or wall filler into the crack. Start by pressing the filler into the crack, ensuring it’s slightly overfilled to account for any shrinkage as it dries. For large cracks, apply the filler in layers, letting each layer dry before adding the next. Make sure the filler is level with the surrounding wall to avoid uneven surfaces. For cracks that are particularly wide, consider using a plaster base coat before applying the joint compound. The plaster creates a solid foundation for the repair, preventing the crack from reappearing. 6. Let the Filler Dry Allow the filler to dry completely. Drying times can vary depending on the product you use and the room’s conditions. However, it’s usually a good idea to wait 24 hours for the filler to dry thoroughly before proceeding. Rushing this step could lead to poor results and uneven sanding. 7. Sand the Area Smooth Once the filler is dry, use medium-grit sandpaper to gently sand the patched area. The goal is to smooth out any excess filler and ensure the repair blends seamlessly into the rest of the wall. After using medium grit, follow up with fine-grit sandpaper to achieve a smooth and flawless finish. Be sure to sand evenly and carefully, as aggressive sanding can damage the wall or remove too much filler. Sanding ensures that the wall is as smooth as possible before you apply primer and paint. 8. Clean the Surface Again After sanding, dust off the area with a clean, damp cloth to remove any sanding dust. Cleaning is important because dust can interfere with the adhesion of the primer and paint, leading to an uneven finish. 9. Prime the Repaired Areas Once the wall is clean and dry, apply a coat of primer over the repaired cracks. Priming is essential because it helps seal the filler and creates an even surface for the paint. Priming also ensures that the paint color is consistent across the entire wall. Let the primer dry according to the manufacturer’s instructions. 10. Paint the Wall Now that the cracks are repaired and primed, it’s time to paint. Choose the paint color that suits your space and apply it over the entire wall. Use a roller for large areas and a brush for edges or corners. Apply at least two coats of paint, allowing the first coat to dry before applying the second. Ensure the paint covers the patched areas seamlessly for a smooth, flawless finish. Extra Tips Thin Layers are Better: If you have a big crack, put on a few thin layers of filler instead of
- 1
- 2